# Monitor
We provide monitoring services for your host, network and other resources, allowing you to keep track of the system operation status and resource usage at any time, which is convenient for locating and analyzing problems.
Host monitoring items by default include CPU utilization rate, disk read/write, and network interface inbound/outbound bandwidth and packet volume. If you install our monitoring agent, you can also monitor more metrics such as memory utilization rate and disk space utilization rate.
# Installation of Monitoring Agent
Currently, our monitoring agent can be installed after the creation of the host. For specific installation instructions, please refer to: [Monitoring Agent Operation Guide](/docs/umon/agent)
If you would like the monitoring agent to be installed and started during the creation of the host, please follow these steps:
- Limitations:
- Host Model: Outstanding Model
- Image: Some versions of CentOS image
- Available Zone: The zones supported by the Outstanding Model
## Console Operation Guide
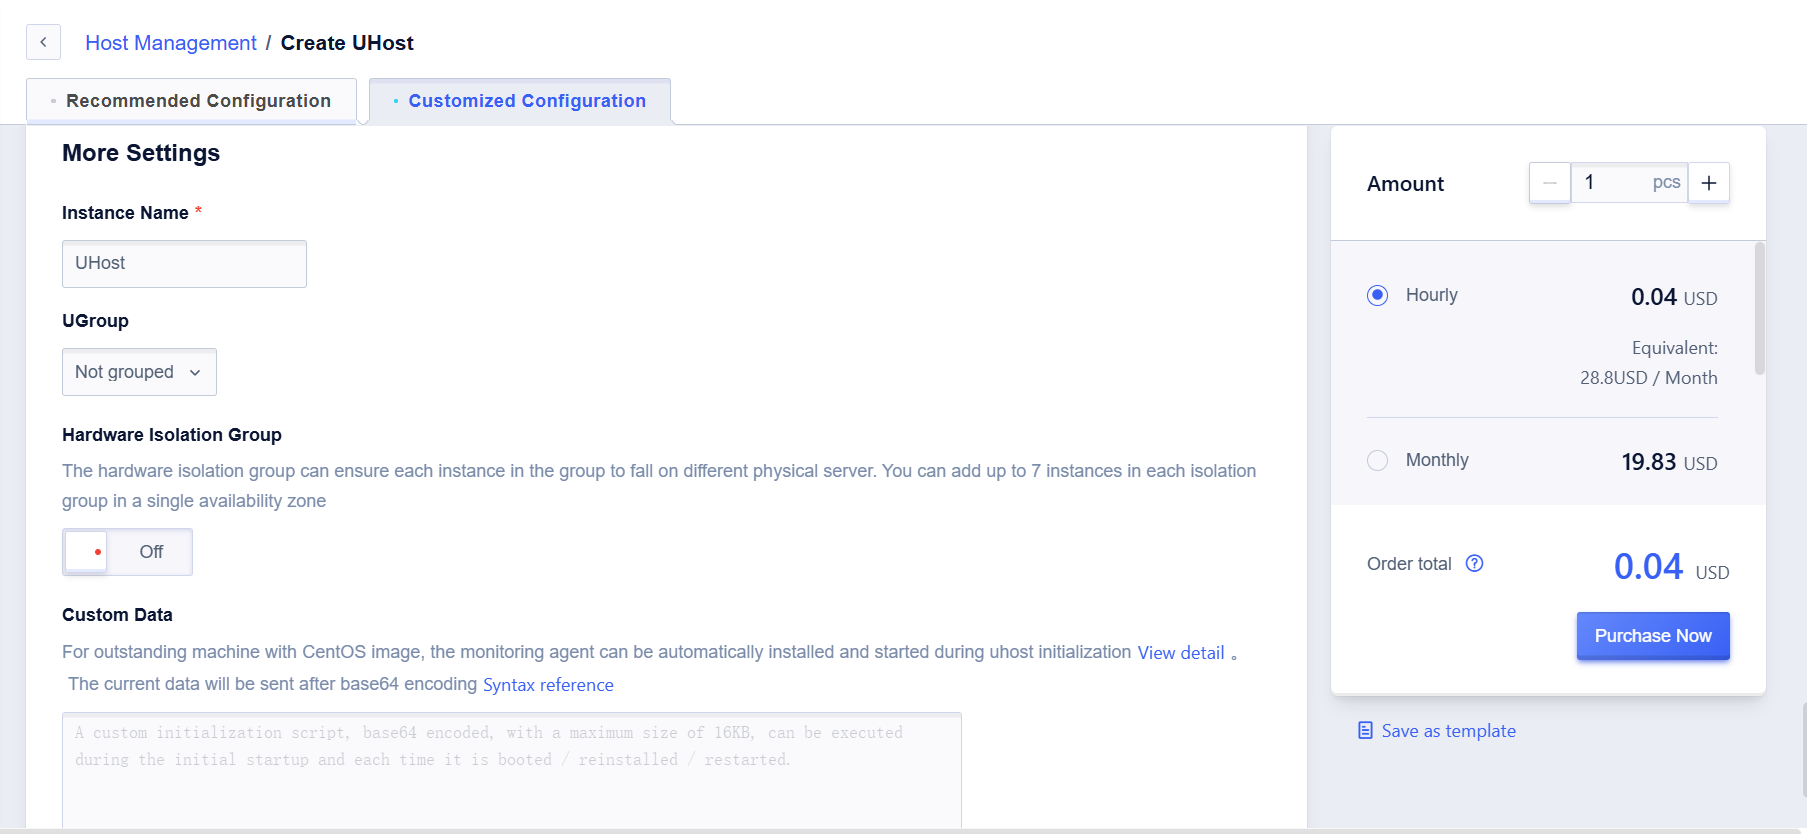
Operation Position: Scroll to the bottom of the creation console. It's within the Custom Data section under the More Settings card.
Step 1: Enter the cloud-config script
For images other than CentOS 8.0/8.2/8.3, enter the following script
```
#config
packages:
- uma
```
For the CentOS 8.0/8.2/8,3 image version, enter the following script
```
#cloud-config
packages:
- uma-py3
```
Step 2: Confirm if pre-installation is successful
Method 1: Confirmation by command-line: successful pre-installation will return results, otherwise there will be no return.
```
#rpm -qa | grep uma
```
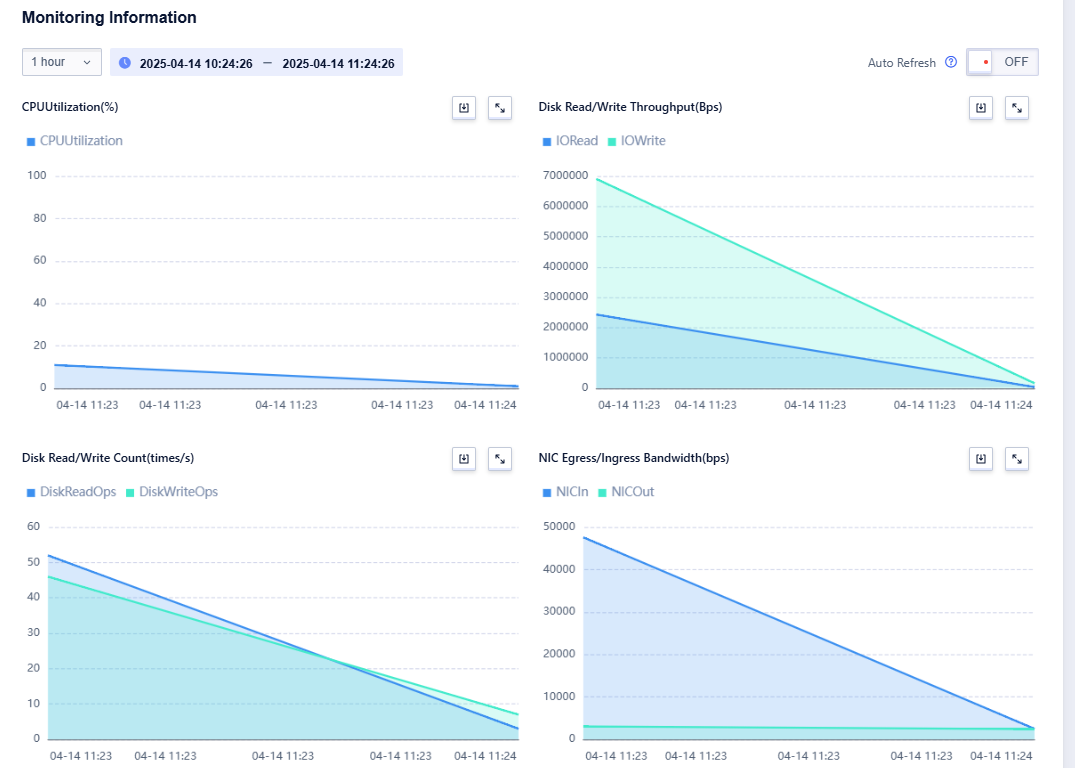
Method 2: In the management console, check the data from the monitoring information module on the corresponding UHost details page, and if the monitoring agent has been installed, the monitoring data will be displayed.
## API Operation Guide
Step 1: Specify the installation of the monitoring agent by setting the UserData field and inputting base64 encoding.
For images other than CentOS 8.0/8.2/8.3, enter the following encoding
```
I2Nsb3VkLWNvbmZpZwpwYWNrYWdlczoKICAtIHVtYQ==
```
For the CentOS 8.0/8.2/8.3 image version, enter the following script
```
I2Nsb3VkLWNvbmZpZwpwYWNrYWdlczoKICAtIHVtYS1weTM=
```
Step 2: Confirm if pre-installation is successful
Method 1: Confirmation by command-line: successful pre-installation will return results, otherwise there will be no return.
```
#rpm -qa | grep uma
```
Method 2: In the management console, check the data from the monitoring information module on the corresponding UHost details page, and if the monitoring agent has been installed, the monitoring data will be displayed.
