## OpenAI Codex Access Guide
> Now you can use models like `gpt-5.1-codex` via the [UModelverse Platform](https://console.scloudsg.com/modelverse/model-center).
## 🚀 Quick Start
### 1. Installation
1. Please ensure you have npm installed. Refer to the [Node.js official website](https://nodejs.org/en/download).
2. Install OpenAI Codex:
```shell
npm install -g @openai/codex@latest
```
### 2. Configuration
#### 2.1 Configure the Model Provider
Create and configure your `~/.codex/config.toml` file in a Mac or Linux environment:
```toml
model_provider = "ucloud"
model_reasoning_effort = "high"
model = "gpt-5.1-codex"
[model_providers.ucloud]
name = "ucloud"
base_url = "https://api.umodelverse.ai/v1"
wire_api = "responses"
requires_openai_auth = true
```
#### 2.2 Configure the API Key
Create and configure your `~/.codex/auth.json` file:
```json
{
"OPENAI_API_KEY": "your-umodelverse-api-key"
}
```
> **Note**: Please replace `your-umodelverse-api-key` with the actual API Key you obtained from the UModelverse platform.
### 3. Use Codex
Once configured, you can run Codex directly in the terminal:
```shell
codex
```
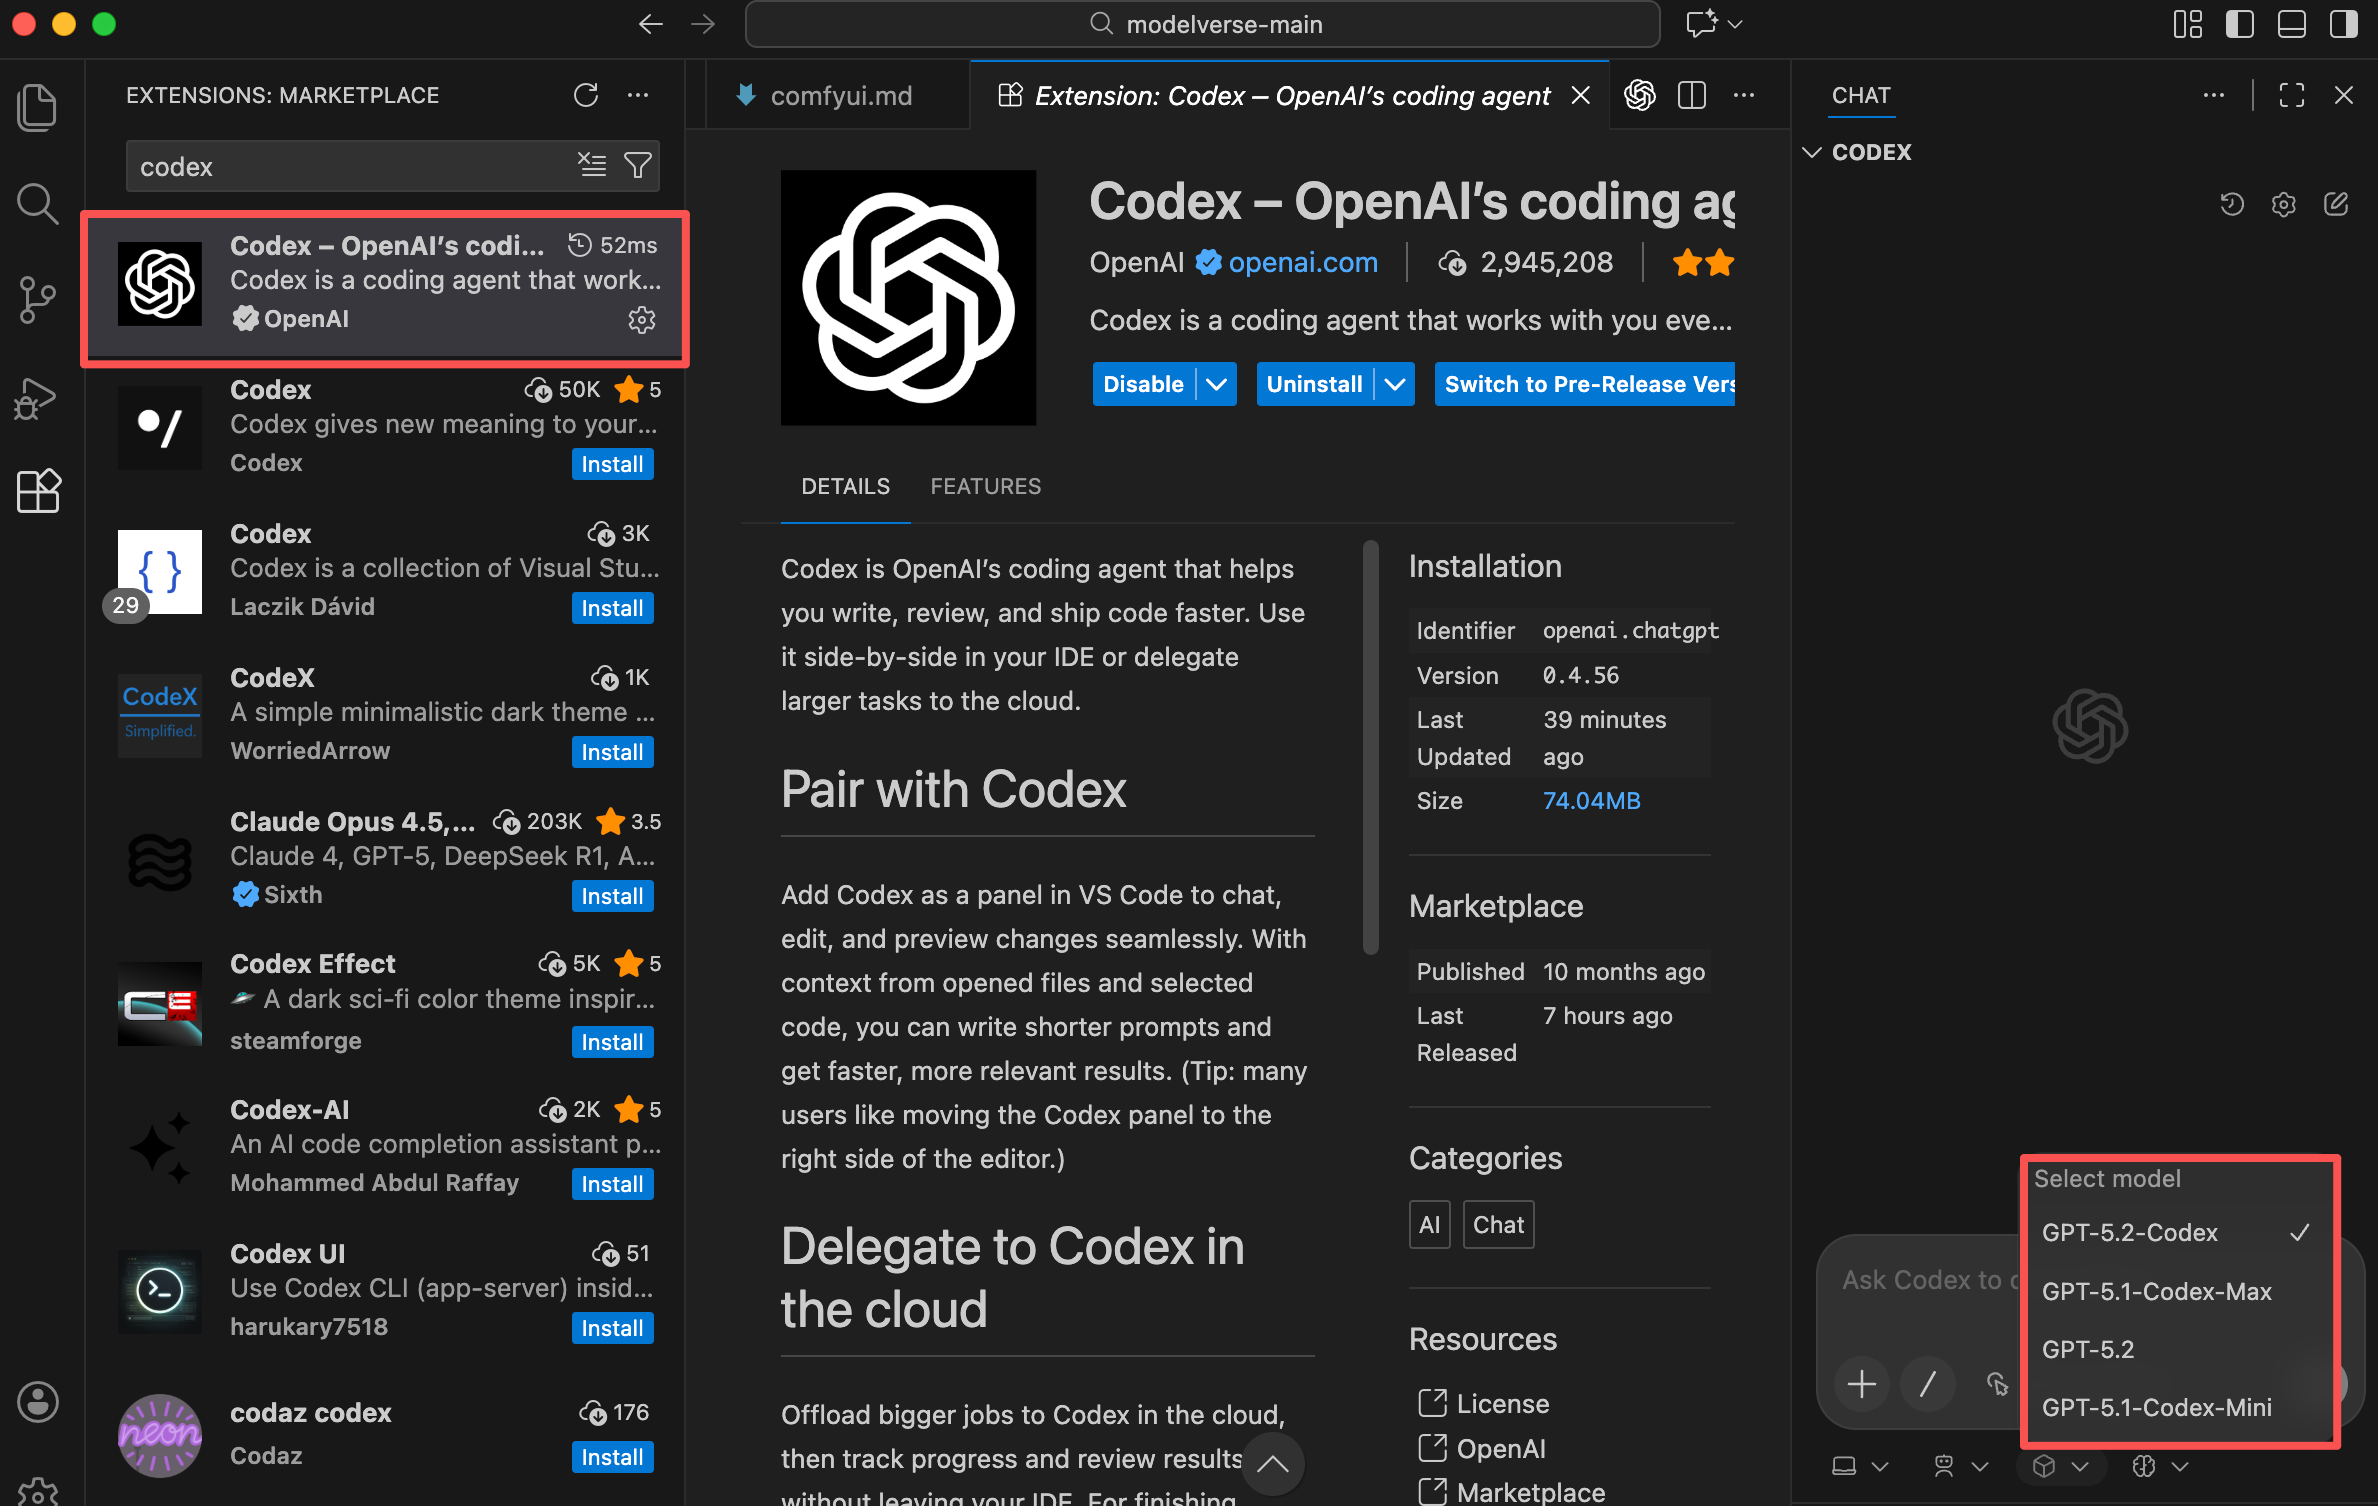
You can switch models via `/model`, as shown in the image:
 You can also directly install the `codex` VS Code extension after configuring and use it by switching the model and reasoning effort.